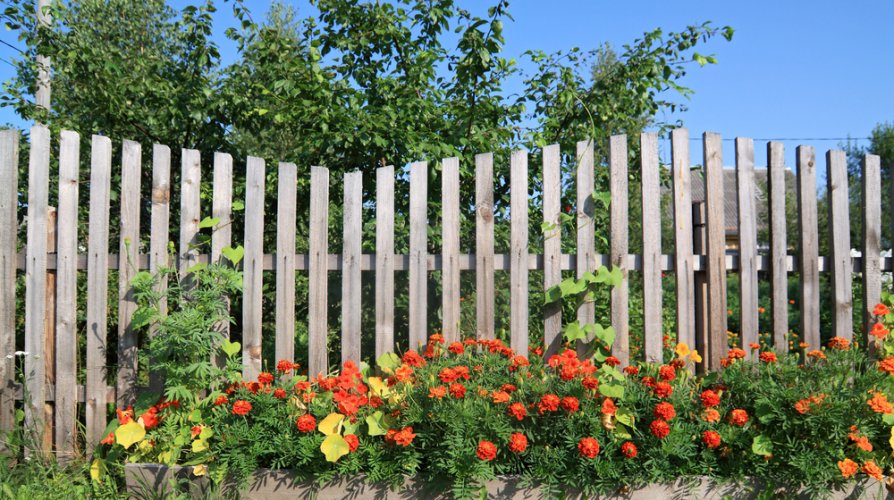
Are you looking to enhance the security and curb appeal of your property with a sturdy wooden fence gate? With the right tools, materials, and a little know-how, you can construct a beautiful and functional gate to complement your wooden fence.
In this step-by-step guide, let’s go through the whole process, from gathering materials to attaching hardware. Let's get started!
Materials and Tools You'll Need:
Before you start building your wooden fence gate, make sure you have the following materials and tools ready.
When it comes to building a durable and dependable fence, you need the necessary tools to ensure that your investment stands the test of time. To learn more about these essential tools and enhance your fencing project, visit take a look through our site to explore the wide range of our products.
Materials:
1. Pressure-treated lumber (2x4s and 1x6s are common choices)
2. Fence pickets or boards
3. Wood screws
4. Gate hinges
5. Latch or lock mechanism
6. Wood glue
7. Sandpaper
8. Paint or wood stain
9. Mineral spirits (for cleaning)
Tools:
1. Measuring tape
2. Carpenter's square
3. Circular saw or miter saw
4. Screwdriver or drill with appropriate bits
5. Sander
6. Clamps
7. Safety goggles and ear protection
How To Build A Wooden Fence Gate
Step 1: Measure and Plan
Start by measuring the opening where you want to install the gate. Ensure that the gate will fit snugly and account for any clearance needed to allow it to open and close smoothly.
Step 2: Cut the Frame Pieces
Cut the pressure-treated lumber to create the gate frame. You'll need two horizontal pieces (top and bottom) and two vertical pieces (sides). Make sure the frame is square by using a carpenter's square.
Step 3: Assemble the Frame
Lay the frame pieces on a flat surface and use wood screws to secure them together at the corners. Reinforce the joints with wood glue for added strength.
Step 4: Add Diagonal Bracing
To prevent the gate from sagging, add diagonal braces to the frame. Measure and cut two pieces of lumber from corner to corner, forming an "X" within the frame. Attach these diagonals with screws.
Step 5: Attach Pickets
Attach the fence pickets or boards to the frame, leaving a small gap between them for aesthetics and airflow. Use clamps to hold the pickets in place while you screw them onto the frame.
Step 6: Sand and Finish
Sand the entire gate to smooth out any rough edges and surfaces. Once it's smooth, apply a coat of wood stain or paint to protect the wood from the elements and enhance its appearance. Allow it to dry completely.
Step 7: Install Hinges and Latch
Position your gate in place and attach the hinges to the gate frame. Make sure they're level and aligned with the fence. Then, attach the other side of the hinges to the fence posts or the existing fence.
Install a latch or lock mechanism on the gate to secure it. Depending on your preference, you can opt for various latch styles, such as padlocks, slide bolts, or simple gate hooks.
Step 8: Test and Adjust
Test your gate to ensure it opens and closes smoothly. Make any necessary adjustments to the hinges or latch for a proper fit.
Step 9: Final Touches
Once your gate is securely installed and functioning correctly, add any additional decorative elements, such as finials or decorative caps, to enhance its appearance and personality.
Wood Fence Gate Hardware
Congratulations, you've successfully built a wooden fence gate! Not only does it enhance the security and appearance of your property, but it also adds a personal touch to your fence.
With the right materials and tools, this DIY project is achievable for both novice and experienced woodworkers.
Need help? Work with a professional installer who uses products from Modern Fence Technologies. Or, if this is a do-it-yourself type of project, ask your retailer for our products.
Building a wooden fence gate is a rewarding project that allows you to customize your property while providing security and functionality. Don't forget to visit our wholesale American-made fence hardware store to find the highest quality hinges, latches, and other accessories to complete your project. Happy building!

